Horse clipping is a time consuming task that most horse owners need to go through at least once in their life. Many competition horses you might see at shows have been clipped, and even riding horses and lesson horses may have been clipped.
What Is Clipping?
Clipping is basically the shaving of the horse’s coat. Most of the time, horses used for competition are clipped to leave their coats and bodies looking sleek and shiny. In winter, horses are often clipped to keep them clean when riding so sweat doesn’t build up in their thick coats. Horses in top horse shows are often clipped to make the horse appear clean, shiny, and elegant. There are also several patterns and types of clipping as well as different types of blades used for the clipping process.
Steps To Take:
Step 1: Bathing
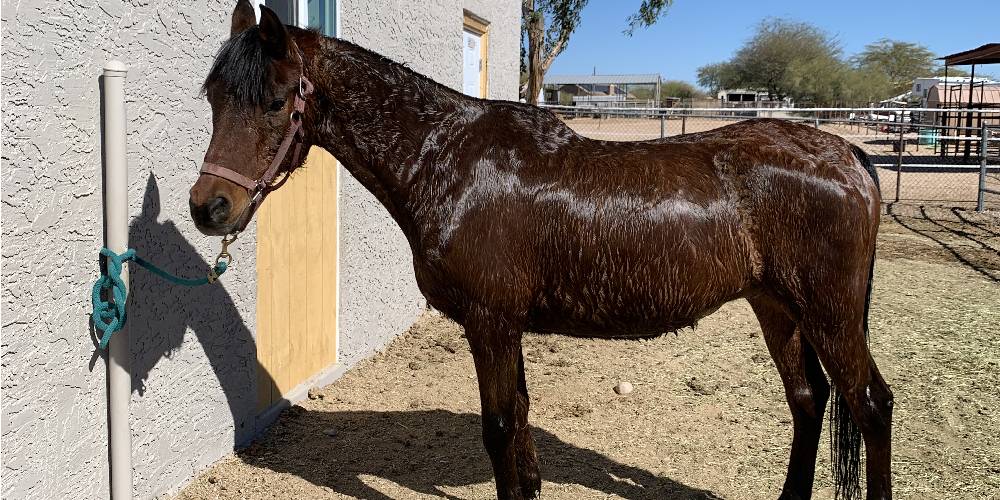
The first step you want to take before clipping your horse is bathing them. Give them a full deep scrub including their mane and tail. You want to remove all dirt, dust, sweat, and buildup completely from the coat. This is to make sure that the clippers don’t get gummed up halfway through the clipping process.
Start by completely soaking your horse with water. Don’t miss any spots! Then I go in with an equine shampoo and scrub the entire body including the mane and tail. The way I do it is I start by shampooing the mane and tail first, then I scrub the body second, then I do the legs last.
Once the scrubbing is finished, I go ahead and rinse out the mane and tail before anything else. I add a conditioner to the mane and tail usually at this point, but that is optional. When you rinse your horse’s body, make sure that all the soap is rinsed out of its coat. If it isn’t rinsed properly, then the soap will dry to the skin making the horse very itchy.
Once the horse is completely dry, I then use a sweat scraper (basically a horse squeegee) to remove as much water as possible after the horse’s bath.
Step 2: Drying
Once squeaky clean, your horse will need to be completely dry before going in with the clippers.
What I do, is use a towel across the whole body. The microfiber ones work the best for this kind of job. I use about two towels across the whole body after one bath to speed up the drying process. With the towels, I basically just rub them in a circular pattern all over the horse’s body and coat. I usually try to get to the legs too because that’s where you start your clipping.
I recommend tying your horse up to dry in the sun so they don’t go out and roll. You could also go in with a blow-dryer if your horse isn’t scared of the noise.
Step 3: Tying
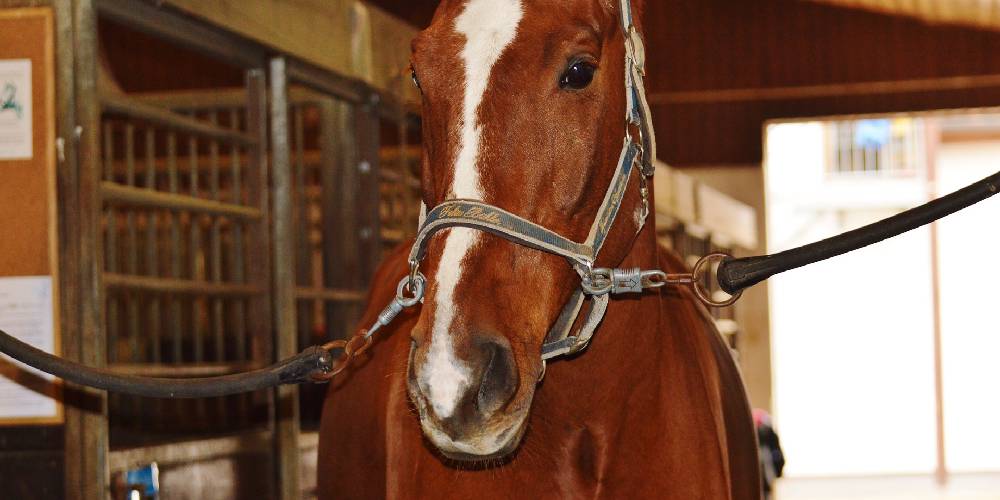
Once your horse is completely dry and clean, tie them up to a stable pole or fence. I used cross-ties to tie up the horse last time I clipped and they worked great.
If cross-ties are not available to you, I would suggest to just use a lead rope to tie the horse to a fence.
Try to avoid a place where wind can get through. If you are clipping in a windy area, the hair will blow everywhere and you will get a nice even covering of horse hair. Trust me, you will want to avoid wind at all costs.
Step 4: Legs
Some clipping patterns don’t require the legs to be clipped suck as the blanket clip or the trace clip, but a full clip requires the legs to be done
The legs are the first part of the horse that you will want to clip. The reason for this is your horse won’t likely be very impatient in the first thirty minutes of clipping. If you do them last, the horse is more likely to paw and kick making it extremely hard to get a clean shave on the legs.
When clipping, I like to start with the back legs first, just because this is where the horse is most likely to kick and give you problems.
To clip the legs, you must keep the clippers flat against the horse to keep an even thickness of hair up the entire leg. The legs are the most time-consuming and trickiest part so it is recommended that they are done first for that reason as well.
Step 5: Head
For some clipping techniques, the head is left fully hairy. The clipping techniques that don’t require the head to be clipped are great options for head-shy horses. This way the loud sound of the clippers isn’t right up in the horse’s face and ears.
The head is what I did right after the legs to get it over with as soon as possible. The head is really tricky to do because there are a lot of sensitive areas. Near the eyes and clipping the outside of the ears were the hardest parts. I suggest having someone hold the horse for you while you clip their head. Because this is hard to do with a halter on, have someone hold a lead rope firmly around their neck so you can still hold onto the horse.
When clipping the head, work your way up from the muzzle to the ears. Sometimes the horse’s whiskers are clipped off as well. The hardest part about clipping the face and head is probably under the jowls and the throat. There are so many odd angles there to try to work around so leaving an even smooth cut in that area is difficult. It is for this reason I recommend a chaser clip, blanket clip, or a trace clip to those who are learning how to clip for the first time.
Step 6: Body
The horse’s body is by far the most fun part to clip. Some people even clip shapes and patterns into their horse’s coats. The body is easy to do because it is a relatively smooth and flat surface to cover. The hardest parts of the body to clip in my opinion is the neck right next to the mane, and the space between the front legs just in front of the girth. These spaces are harder to reach, but still because they are a smooth surface they are still relatively easy to trim up.
Step 7: Wipe Down
After clipping a horse, especially a full body clip, you and the horse are going to be completely covered in shaved horsehair. At this point, I usually use a spray bottle of laser sheen or of water and take a towel and completely wipe the horse down. Getting rid of all the loose horsehair and dust will show you any things you might have to fix and reveal the finished product.
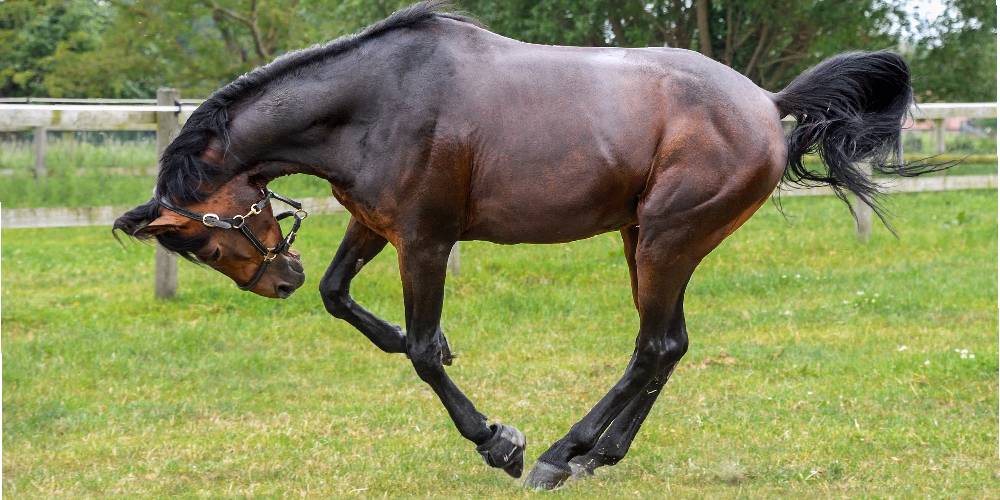
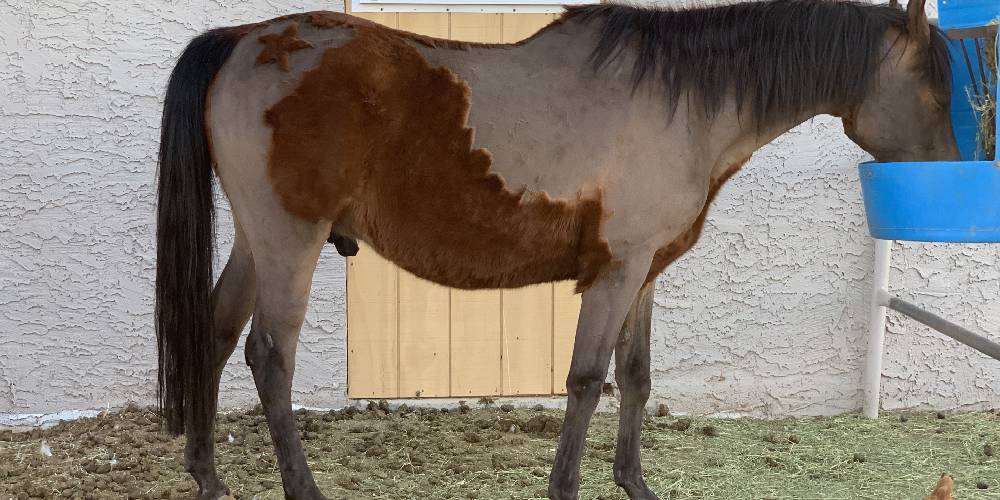
The most satisfying part of clipping is turning the horse out after they are all short-haired and shiny. Turning out Cross Fiire after his clipping was so fun to watch. He looked like a new horse!
Types Of Body Clips:
Chaser Clip
The chaser clip is probably the fastest and easiest clip job you could ever do. The chaser clip is where only the front of the neck and chest are clipped as well as part of the shoulder.
There are versions of the chaser clip that remove more hair than just the neck and chest. The legs are always left hairy, but the hair removed might include half the head, half the neck, and stretch all the way down almost to the stifle.
Trace Clip
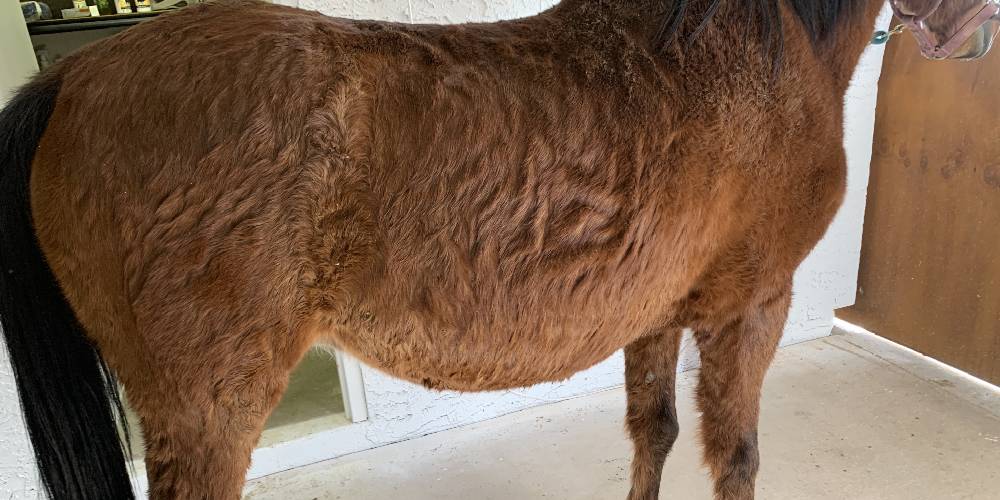
The trace clip is the next least ‘invasive.’ This clipping pattern shaves the front of the neck, the belly, and part of the flank.
This clip can also vary in how much hair is removed. A minimal clip may look like just the bottom of the horse’s body and neck are shaved, where when looking at the shorter trace clip, the horse has more hair taken off and the trace can reach up to the middle of their barrel.
Blanket Clip
A blanket clip leaves the legs hairy as well as a large rectangular patch from the withers to the hindquarters hairy. This clip appears as if the horse is wearing a half sheet.
Full Clip
The full clip is where the legs, body, and head are all clipped. Sometimes a saddle-shaped patch of hair is left on the horse’s back for extra cushion, but this is optional.
The process that I explained above are the steps to take when doing a full body clip. They can still be followed with other styles of clipping too.
This is the most common clip seen at horse shows like the Scottsdale Arabian Horse Show and others. It gives the cleanest appearance and makes the entire body look even.
Important Things To Remember When Clipping:
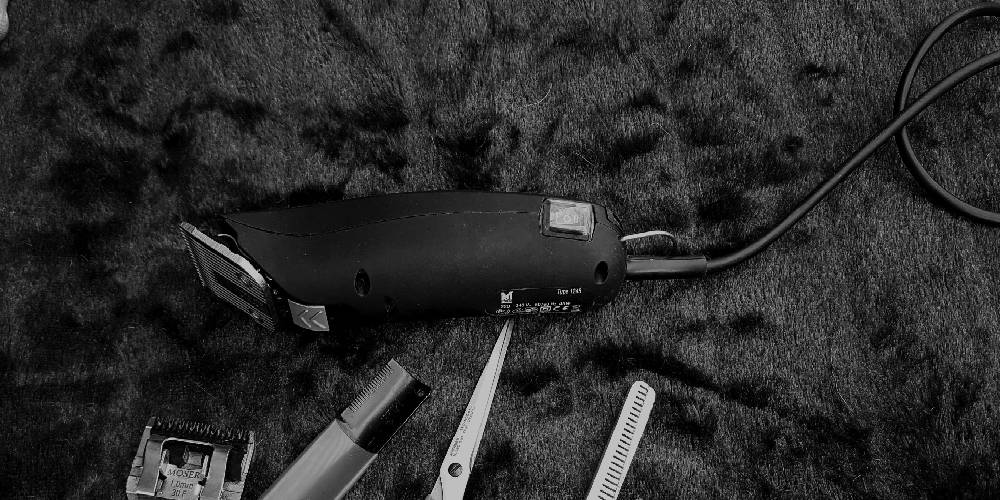
Frequently Clean And Oil Blades
When clipping, you need to remember to keep your clippers clean and oiled. When you buy a pair of clippers, there should be lubricating oil and a brush in the box it comes in. Remember to oil the blades until the oil drips while the clippers are running. After the oil is done dripping, make sure to wipe the blade clean with a towel.
The brush that comes with the clippers is used to wipe away dirt, dust, and hair that might build up in the clippers. This is to keep the blades from clogging and keep them cutting smoothly.
Allow Blades To Cool
The clippers, if running for so long, will begin to get hot. I recommend giving the clippers a break so they don’t over heat. If you are in a rush, use a bag of ice or alcohol to cool them. Hold ice against the bottom of the blade or dip the running clippers in alcohol to clean them and cool them at the same time.
Get Blades Sharpened
Between every full clip, or two partial clips, the blades of your clippers need to be sharpened before they can be used again. If you don’t sharpen the clipper blades, the blades may go dull on you partway through bthe clipping job and you won’t be able to finish without a new or sharpened blade.
FAQs On Horse Clipping
Are horse clippers expensive?
It depends in the quality of the clippers and how much you are willing to spend, but for a nice pair of clippers it costs around $200 – $300 today.
The clippers I used to clip my horse Cross Fiire cost me around $200.
Is it expensive to pay someone to clip horses?
Usually people will charge around $150 a horse today, but the size of the horse and the type of clip the horse owner wants their horse to get will change that price. A pony that is easy to handle and needs a chaser clip will be cheaper than a Hanoverian stallion who needs a full clip and ios terrified of the clippers.